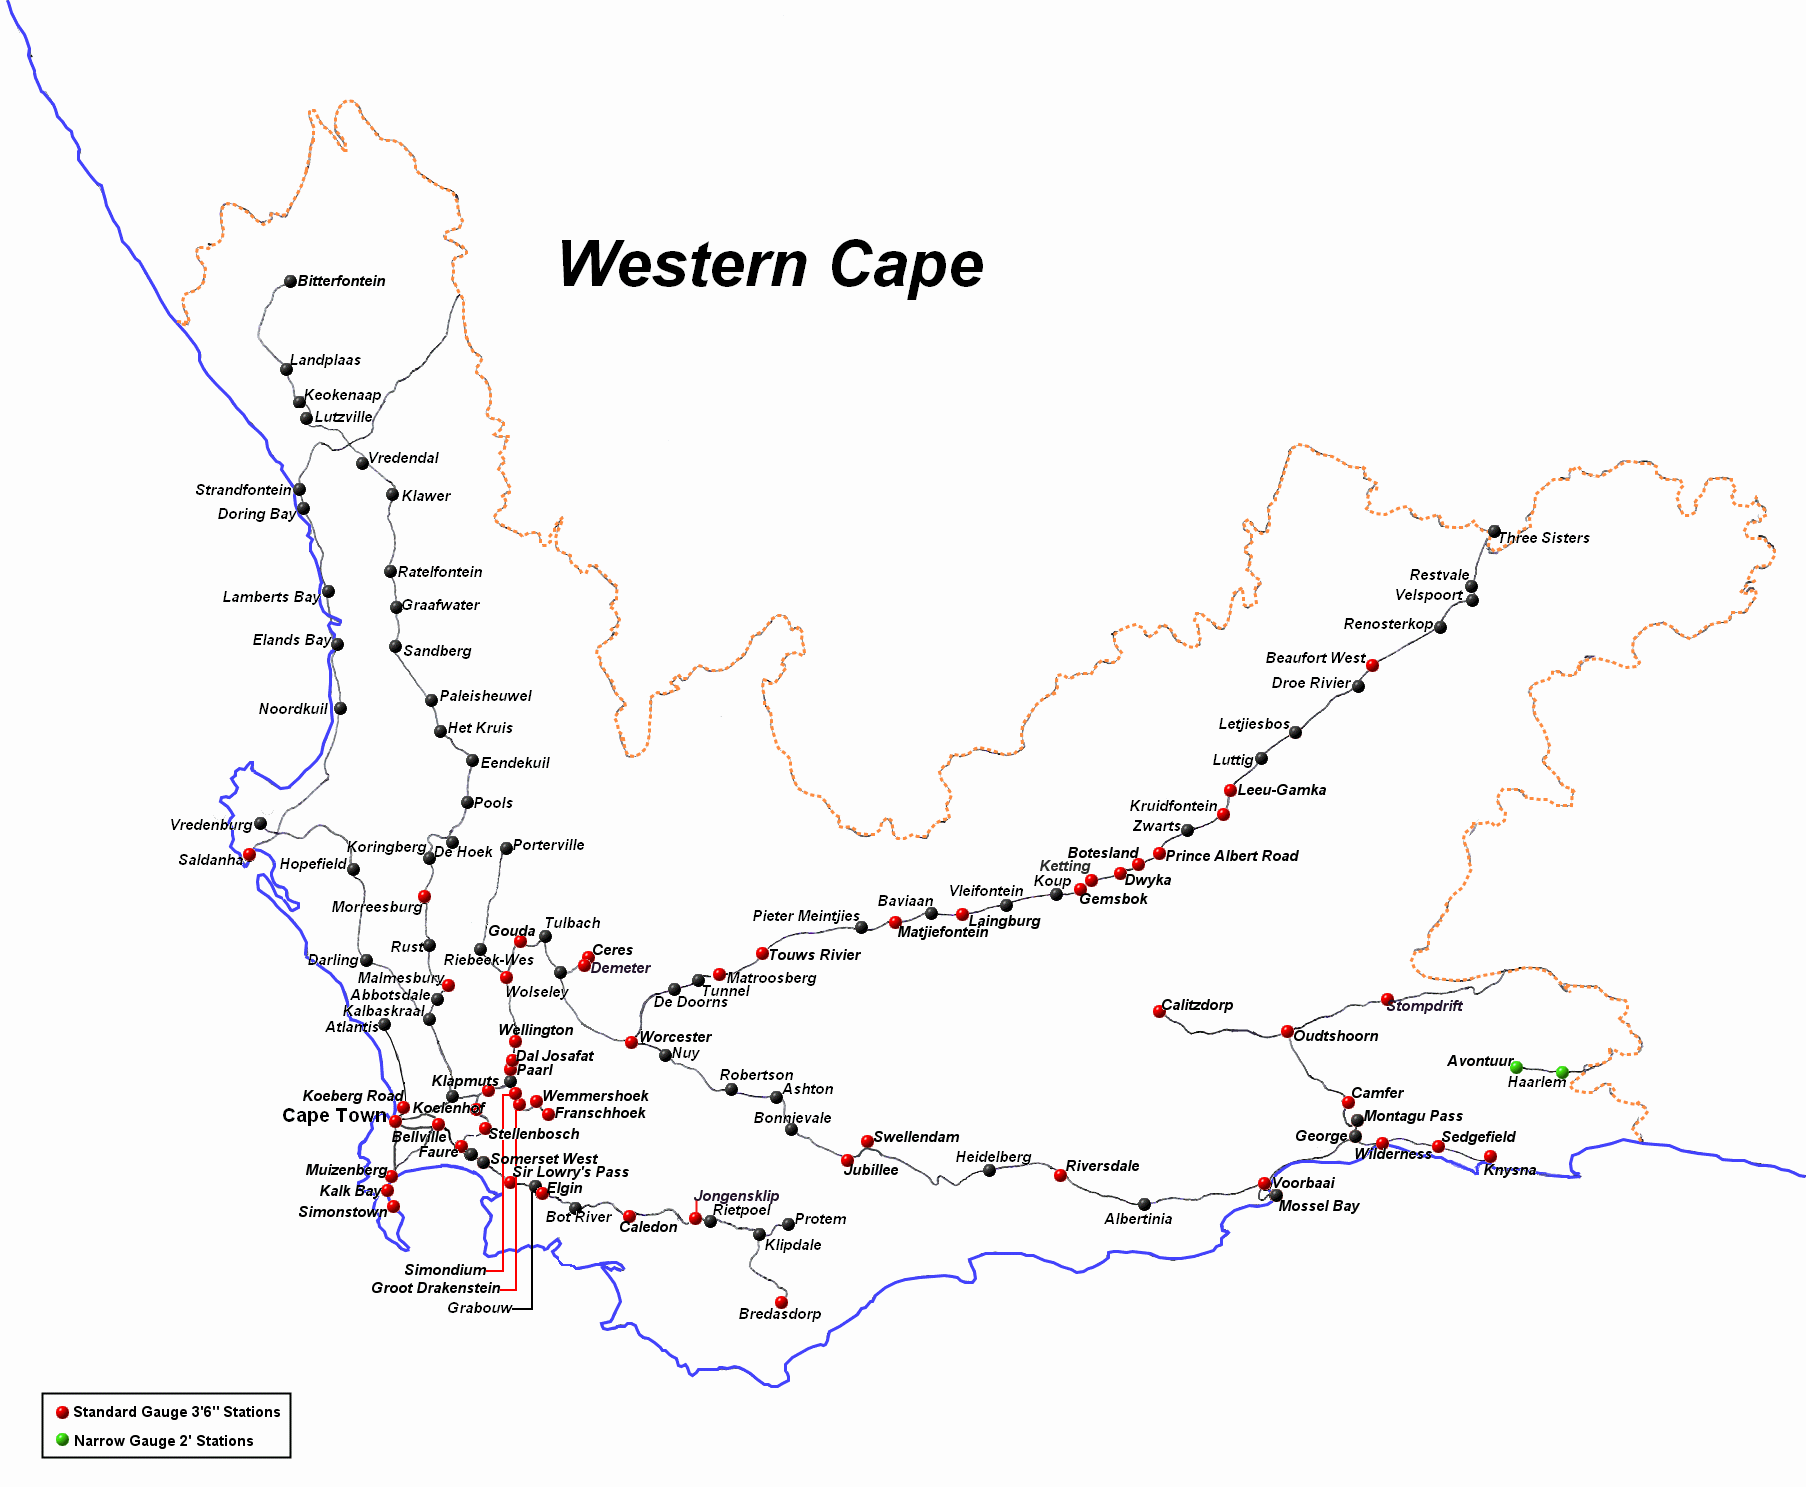
To use the map, the coloured dots indicate stations with photos, click on the dot and the photo will open on the same page,
click the 'close' button to close the photo window, if you see a hyperlink over the name of the stations then that will take you to the
section on the site where more photos are.  Red dots are Standard Gauge, green dots are Narrow Gauge stations.


Photo of Caledon Station More photos of Caledon Station Photo of Botesland Stopping More photos of Bredasdorp Station Photo of Camfer Station More photos of Camfer Photo of Calitzdorp Station More photos of Calitzdsorp Station Photo of Ceres Station building Photo of Dal Josafat 1984 More photos of Dal Josafat More photos of Ceres Photo of Demeter Station More photos of Demeter Photo of Dwyka Stopping Photo of Elgin Station More Photos of Elgin Station Photo of Faure Signals More photos from Faure Photo of Franchhoek Station More photos of Franschhoek Photo of Gemsbok Stopping Photo of Gouda Station Photo of Groot Drakenstein level crossing More photos from Groot Drakenstein line Photo of Jongensklip Station Photo of runpast at Jubilee Photo of Kalk Bay Station More photos of Kalk Bay Station Photo of Ketting stopping Photo of Knysna Station More photos of Knysna Station and Turntable Photo of Cape Town Carriage Yards 1959 More photos from Cape Town Stations Photo of Koeberg Road Station More photos of Koeberg Road Station Photo of Laingsburg Station 1980 More photos of Laingsburg Station Photo of Leeu-Gamka Station More photos of Leeu-Gamka Lever frame at Malmesbury Station Photo of Matjiesfontein Station More photos of Matjiesfontein Station Photo of Matroosberg Station More photos of Matroosberg Photo of Moorreesburg Station Photo of Muizenberg Station Photo of Oudtshoorn Signal Cabin More photos from Oudtshoorn Photo of Paarl Station More photos from Paarl Photo of Prince Albert Road Station More photos from Prince Albert Road Station Photo of Bellville Diesel Depot Photo of Riversdale Station More photos of Riversdale Station Photo of Saldanha Station Photo of Sedgefield Station More photos from Sedgefield Station Photo of Simondium line More photos of Simondium line Remains of rail at Simonstown Dockyard More photos from Simonstown Photo of Sir Lowry's Pass Station More photos from Sir Lowry's Pass Station Photo of Somerset West Station and Goods shed More photos from Somerset West Station Photo of Stompdrift stopping More photos from Stompdrift stopping Photo of Swellendam Station More photos of Swellendam Station Photo of Touws River Station More photos of Touws River Station and sheds Photo of Voorbaai Station More Photos from Voorbaai Station Photo of Wellington Station More photos from Wellington Station Photo of Wemmershoek internal tramway system More photos from Wemmershoek SADCOL siding Photo of Wilderness Station More photos from Wilderness Photo of Wolseley triangle More photos from Wolseley Photo of Worcester Station More photos of Worcester Station Photo of Klapmuts Station Photo of Van Schoor machines at Koelenhof Photo of Kruidfontein Station Photo of Beaufort West Station PE to Avontuur Narrow Gauge Stations PE to Avontuur Narrow Gauge Stations Photo of Bredasdorp Station Interactive Western Cape Map

Return to Stations Index