|
 |
 |
Union Limited Maluti - 5th August 2001 Photos and Report
Part II - The Malootsberg
| Sunday morning, and we awoke with trepidation as to what horrors
the weather would reveal to us this time. None in fact... Clear blue
skies, no wind, a bit of fog creeping down the mountain sides -
brilliant! A quick (if not hefty!) brekky then the 2 minute drive to
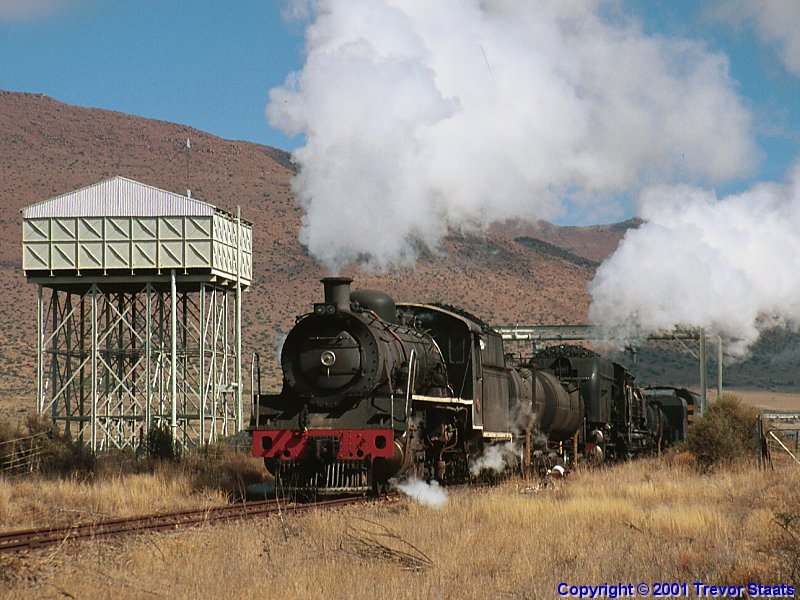
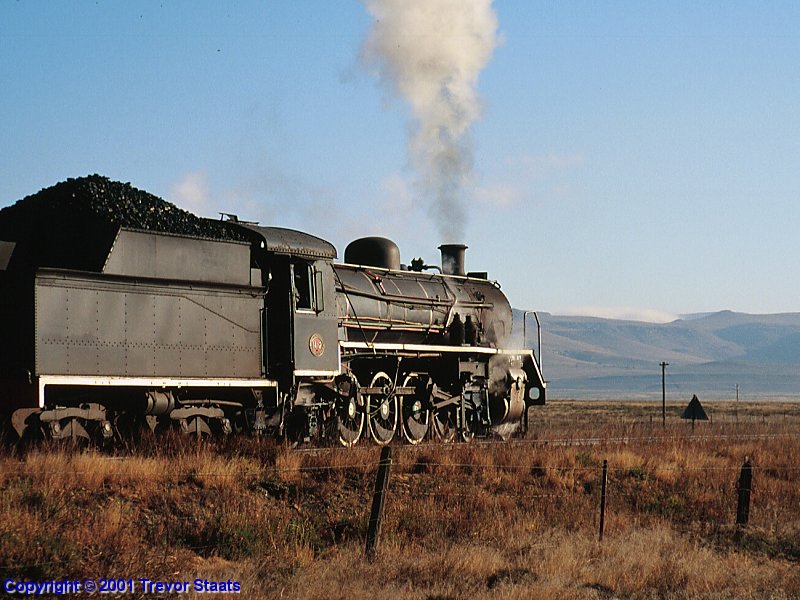
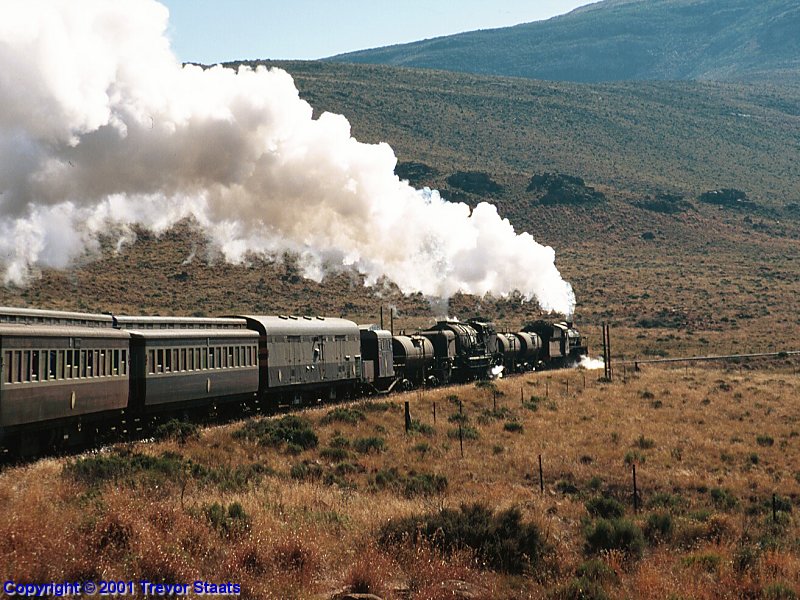
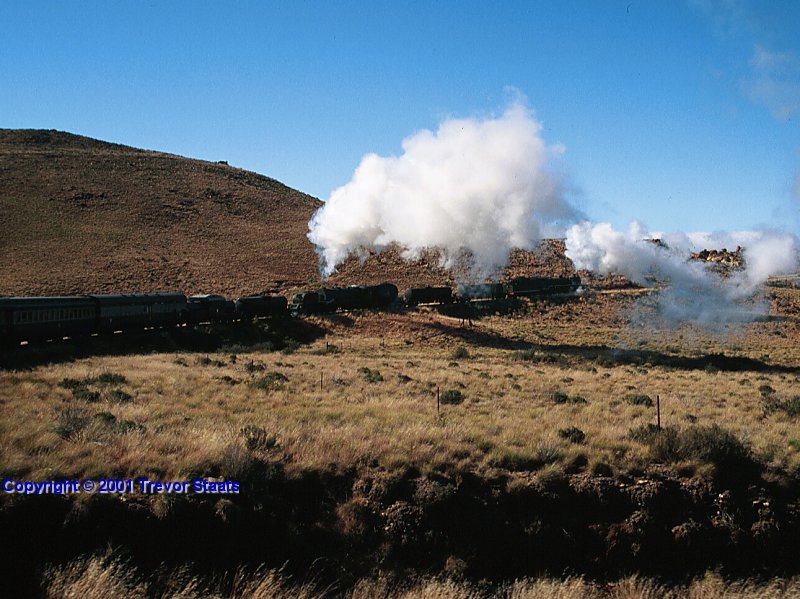
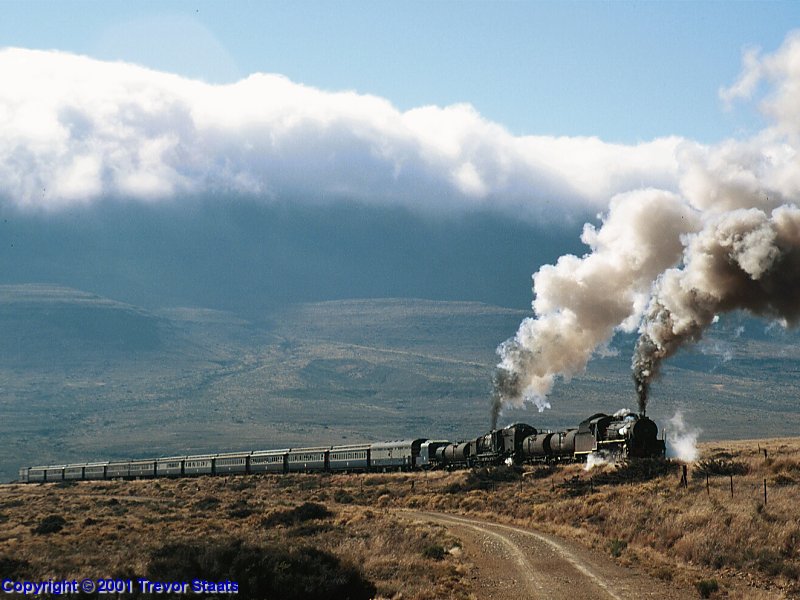
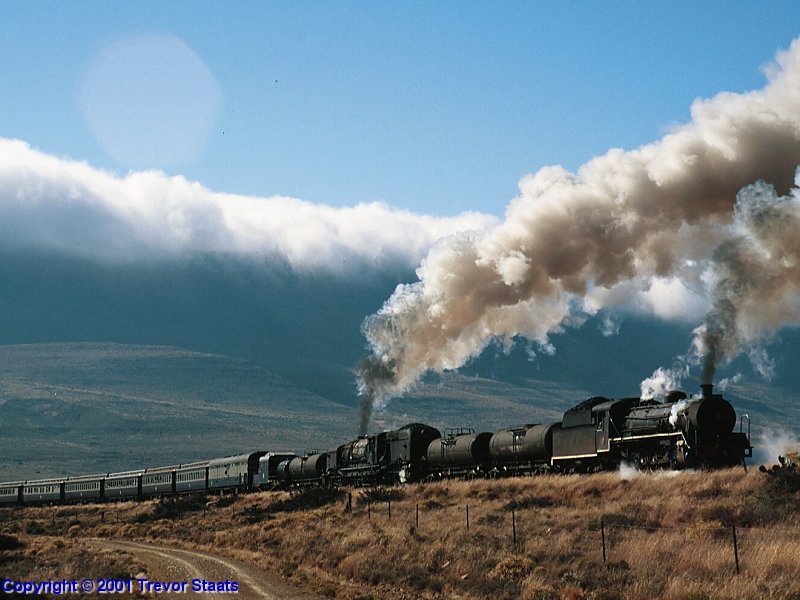
the station. Locos 19B 1412 and GMAM 4122 were in the final stages
of being readied for the climb of the pass. Given the Maluti's
somewhat dubious link with its namesake mountains on this particular
trip, we decided that it should rather be called the "Malootsberg".
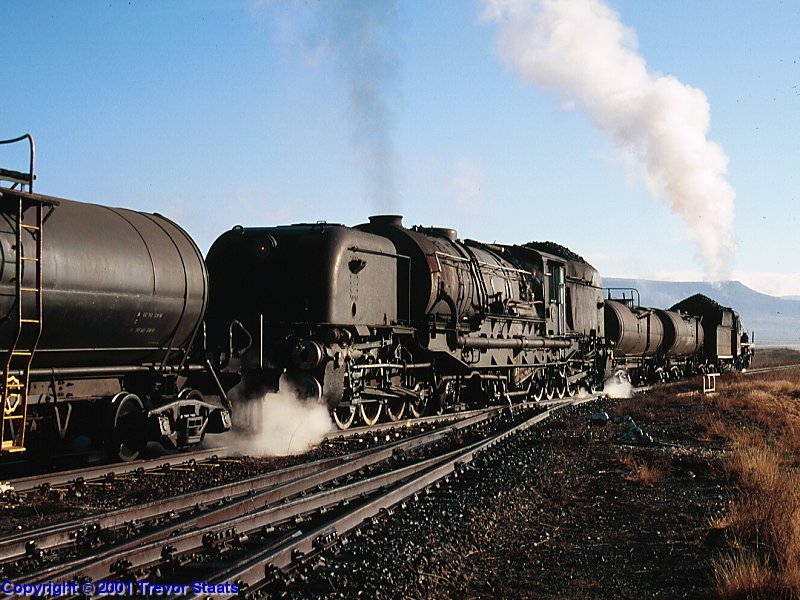
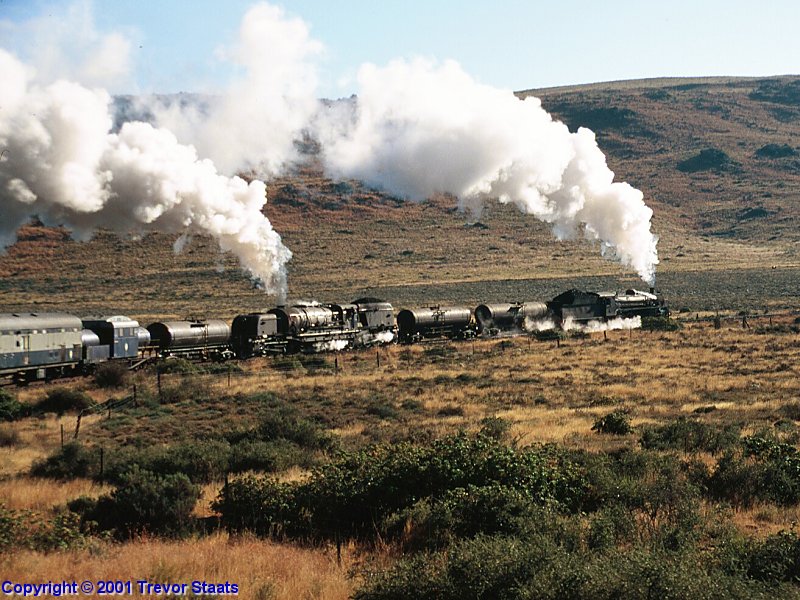
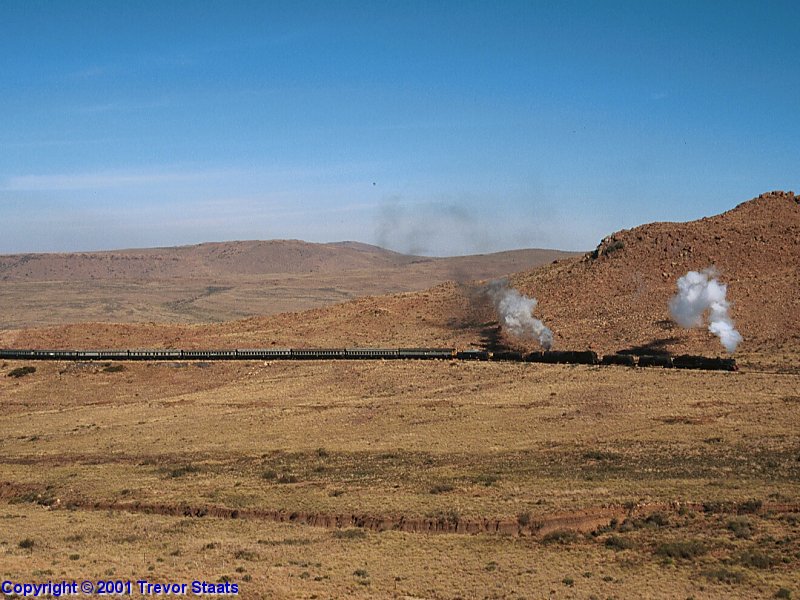
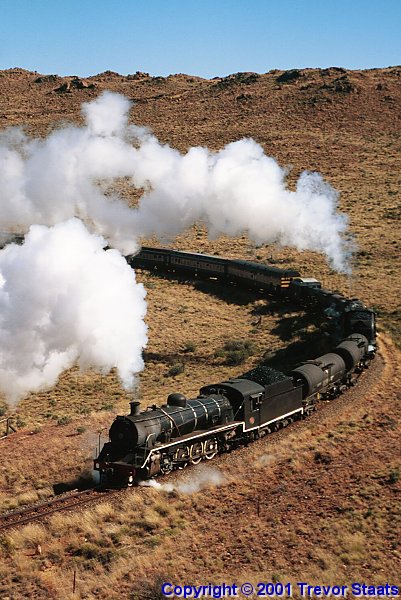
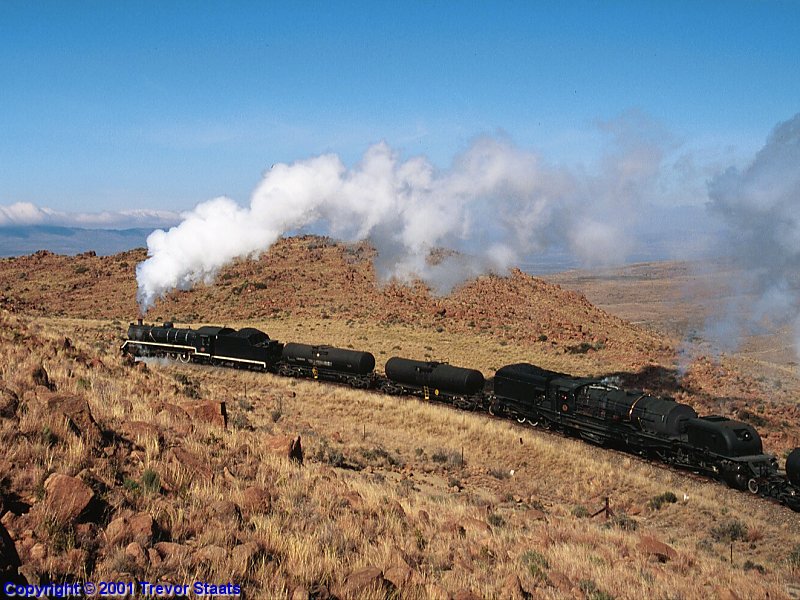
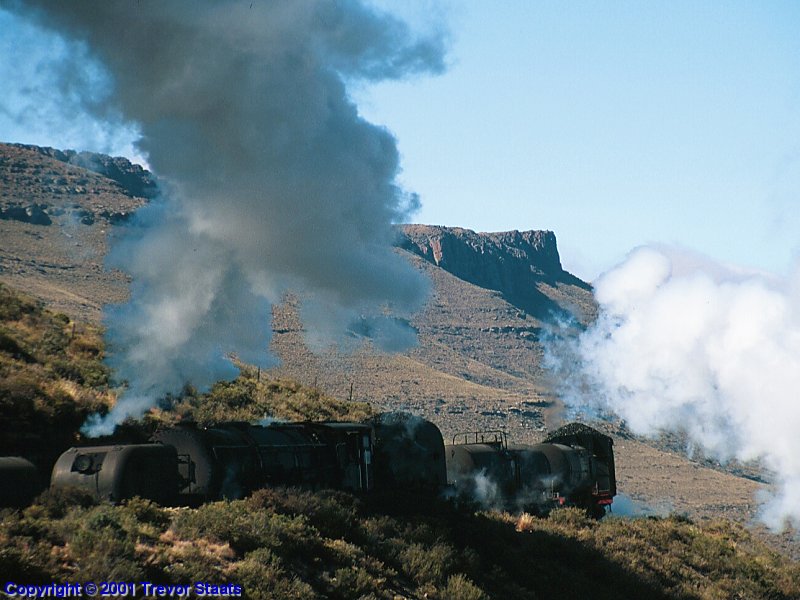
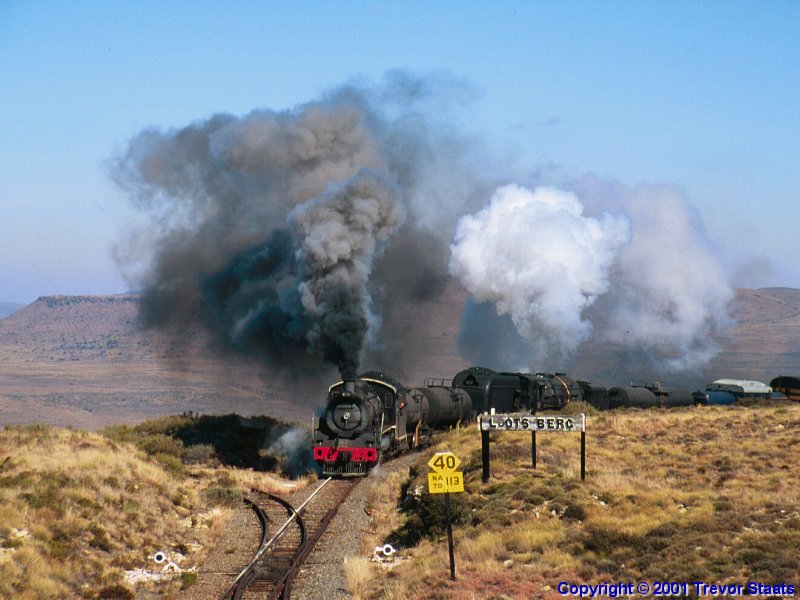
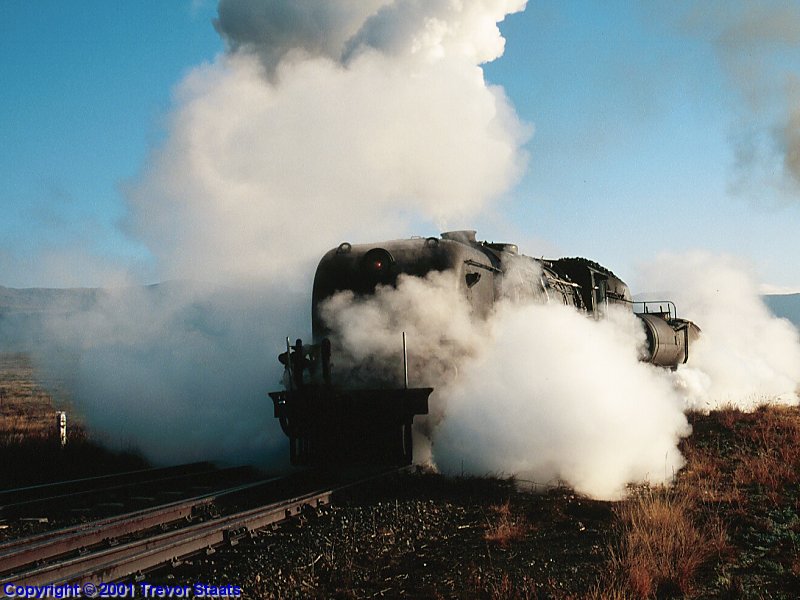
An on-time departure in brilliant weather gave high spirits to the train passengers, and not the type that could be had in the lounge car either! We noted that the line had been realigned quite a bit at some point. I'm not sure when or why, but presumably to ease curves/grades? We had a mystery stop along the way, seemingly a problem with the 19B but we were soon under way again. A servicing stop at Blouwater, followed by a lovely runpast just up the line a bit, with the mist-shrouded mountains in the background and the two hard-working locos in the front. The real climb up the pass was starting, and the locos certainly had their work cut out. A couple of times we were down to walking pace on the continuous curves but the crews did a brilliant job of keeping us moving. We had a runpast on the second of the three horseshoe curves near the summit which was great, again the crews did a great job starting the long train from a stand on the curves and gradient. Some more serious hard work for the locos and then we topped the pass at last. A final runpast was held of the locos conquering the grade past the Lootsberg station sign (well it actually says Lotsberg now as one of the O's has fallen off but it is still appropriate as there are lots of berg's in the area...). I climbed the tank stand for a different viewpoint which gave a beautiful view. The rake of old coaches still stands on the one remaining leg of the triangle, and the remains of the house is still there, but all smashed and wrecked. A quick stop at Jagpoort for fire cleaning, and time to part company with the train once more. A nice mountain shot of the 19B and GMAM departing and silence descended on Jagpoort once more. I don't think many trains pass this way any more? Back in the car, we paced the train a while near Dwarsvlei then dashed into the station for a quick shot amongst the long grass. Just before 2:00pm we did a final shot of the train leaving Middelburg with the Renosterberge in the background, before tackling the long drive back to Jo'burg. What we didn't realise at that point was that a set of car keys belonging to one of our group was still lying on the ground at Bethesda Road, which would begin a lengthy saga back in Jo'burg that only finished at around 4:00am! But that's another story... All pictures Copyright © 2001 Trevor Staats |
|